0

Prairie Pom Crochet Pattern

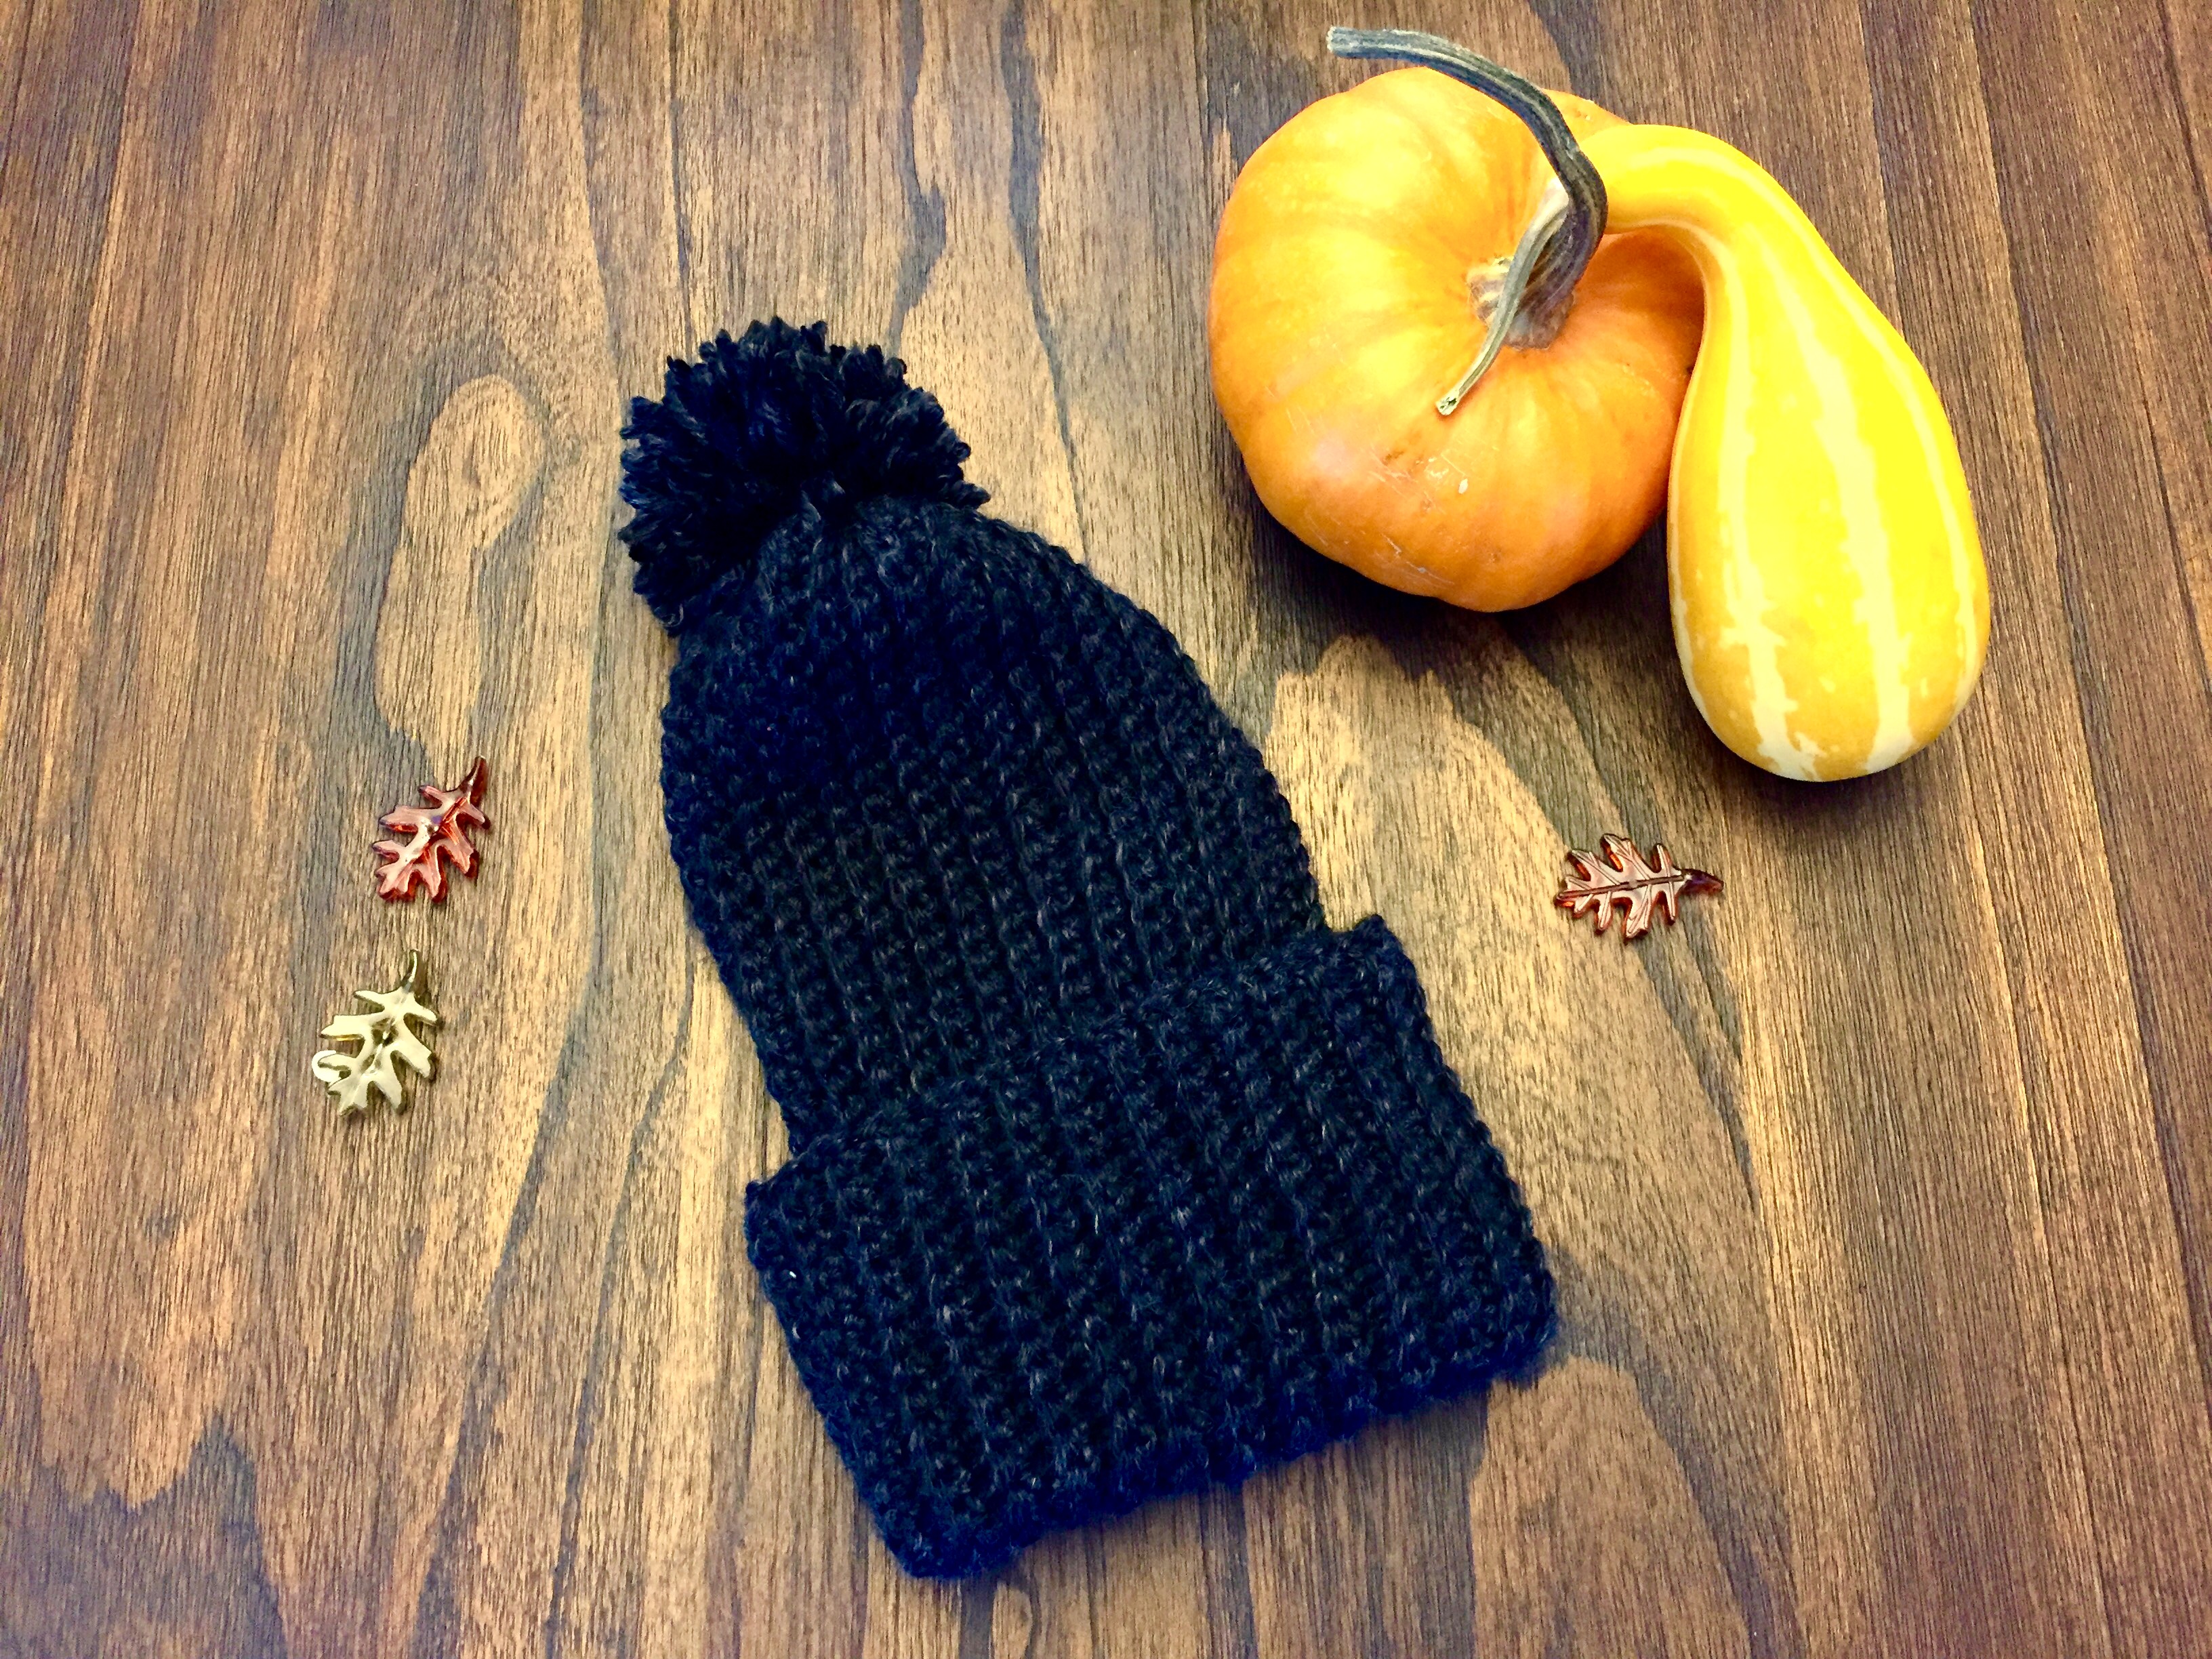
Today it’s all about the pom, the prairie pom to be exact. It’s one of my newest crochet creations and it’s available on my Etsy store, BBCraftlandia.

fullsizerender-90

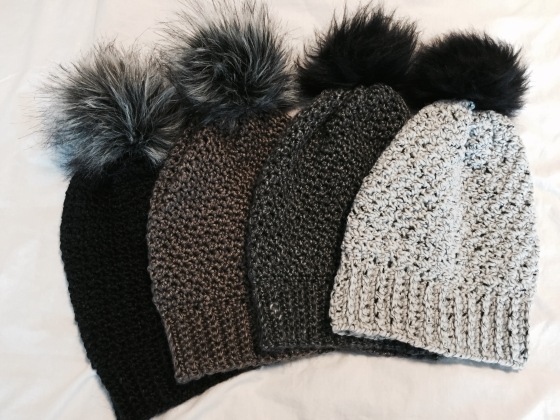
I love the textured look of this toque and the playful pom pom. I want to share with you how I hooked this up so you too can create one of these beauties. Let’s get right to it.

Materials:

  • 5.5mm crochet hook
  • 1 skein of Lions Brand Heartland yarn
  • Faux fir pom pom (I bought mine from Petalle Creations). You an also use a pom pom made from yarn if you prefer

Stitches Used:

  • Single crochet (sc)
  • Double crochet (dc)
  • Slip stitch (sl)
  • Chain stitch (ch)

Ch 10

Round 1: Sc in second stitch from hook, front loop only, continue to the end ch 1 and turn
Round 2: Sc in each stitch, front loop only, continue to the end ch 1 and turn
Round 3: *Repeat rnd 2 until you reach desired length (you can use your own head for measurement). At the end of this round you should have a long band that will work as the base of the crochet toque.
Round 4: SL two ends together. This will form a circle and the base of your toque.
Round 5: Ch 1, Sc evenly around the base of the toque. Use a stitch marker to keep track of where you started the first stitch. Once you get around to the marker do not Sl to beginning Sc.

Round 6: *Sc, dc* around. Alternate between the two stitches all the way around. Do not Sc and Dc in the same stitch, you should be alternating between the two all the way around until you get back to the stitch marker.

Round 7: *Repeat Rounds 6 until desired height/slouchiness is achieved.  I went until it measured approximately 12″ in length (not including pom pom).

img_5854

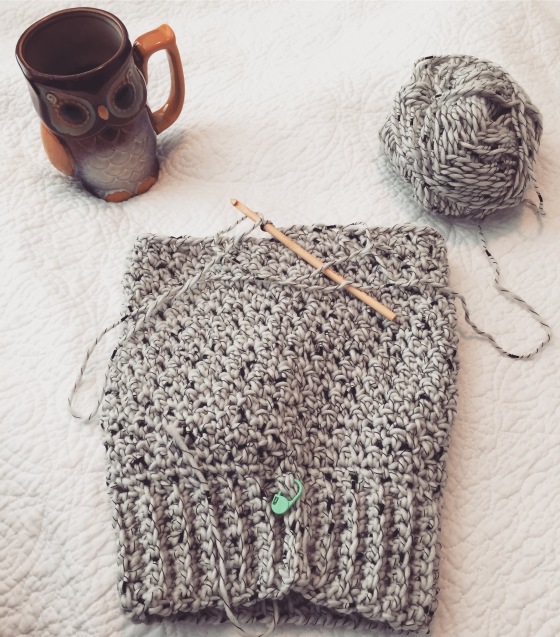
Fasten off and leave a long tail. This will be used to sinch in the top of the toque so leave a long tail in order to achieve this. Take a daring needle and attach it to the the tail end of the yarn. From here, run it under the stitching along the top.

Keep going until you reach where you started (you should still have the stitch marker in place). Once all the way around, pull the yarn tightly until it closes in and there is only a small hole at the top of the toque. If the hole is larger than you would like you can use the daring needle to sew the hole closed. Once you are finished you can tie a knot and weave in the ends.

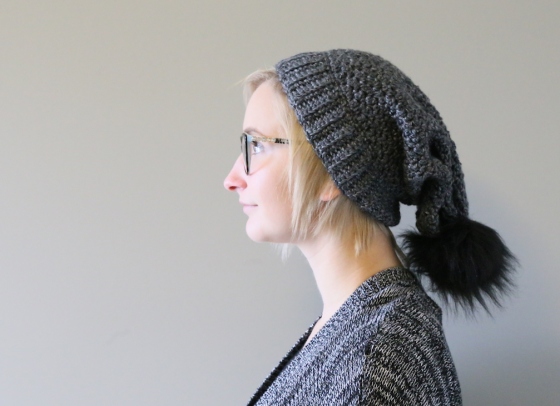
Add faux fur pom pom or a yarn one.

Finished dimensions: 14″ in height (including pom pom) and should stretch to fit approx. 21-24″ around

img_5724

There you have it. I hope this pattern is a clear guide in helping you to make your very own Prairie Pom. Please feel free to email me or comment below if you have any questions and I will be happy to assist you. No worries if you aren’t a hooker, I have this item in a variety of colours available on my shop (see link above). Happy Crafting 🙂

*This pattern is an original pattern by BBNicks, please do not claim this pattern as your own. You are more that welcome to share this pattern and link to my blog but please do not reprint it on your site. Please DO NOT sell the pattern or distribute it. You may sell products made from this pattern but please clearly credit the design to me, BBCraftlandia by BBNicks, and provide a link to my blog http://www.bbnicks.wordpress.com.  Permission is NOT granted for mass production or factory manufacturing of any kind.  Thank you for being respectful*

0

Days like these

Most of my days are spent with the coolest little guy. He is cute, adorable, has a smile that would melt anyone’s heart and is just the best human ever! We chill out on Sesame Street, we talk in our own secret language and we laugh at the fart noises he makes with his mouth. Yup, my little Oliver is my kind of peoples……until he isn’t. Some days I look at him and wonder where my chill little dude went. This not so cool dude is grumpy, cries no matter what I do and could give zero shits about what Ernie and Bert are up to, ughhhh, these are the longest days of life. It was on one of these not so good days that I was inspired to make him something cozy.

Our day started out pretty rad and then quickly went down a path of no sleep, screaming and pouty faces. I’m talking the kind of day you can’t even take a two second break to pee because the little cutie becomes the most demanding human ever and screams if you leave the room, my fellow parents know whats up! On days like these I call him my Joey as he can be found strapped to me in his carrier. Like a mama kangaroo I carry my baby around all day every damn day! It’s exhausting but it’s all part of the mom life, oh the things we do to get some peace and quiet. I’ll never forget the first time I put him in his carrier, the top right shows his legit sassy “mom this won’t work” face;


img_3602

As you can see he was not a believer in the magic of the carrier but within five minutes he became one. Sleeping baby equals a happy mom as you can tell by my permanent grin. If I was to recommend anything to new parents this would be it, get a carrier so on days like this you can at least have two hands and some sanity. I have heard that some babies don’t like the carrier and for those moms I am sorry, but if they like em put em in.

Getting back to the day at hand, my Joey strapped in tight and finally resting, I decided to pick up the hook and make him something cozy. I picked up my favourite skein of yarn and was quickly inspired.

fullsizerender-88

I went with what I know best and that is the slouch. I decided it was time I crocheted my little one a slouchy toque of his own for the cold winter that is sure to come. I didn’t really follow a pattern but I used a similar technique as shown on a awesome crochet blog called All About Ami. I just changed the measurements to fit his tiny head. To start with I Ch stitched until it measured about 35 cm, I wanted it a bit longer so I could have the option of folding it. From there I followed the pattern but only went until it fit snug around his head, about 17-19 cm. I added a pom pom to compliment the slouch and I was done. I did almost all of this while he slept in his carrier. It amazes me how a bad situation can be turned into a productive and positive one.

img_6088

img_6081

fullsizerender-89

It warms my heart to see him all cozy in something I made on one of our not so good days, because when I look back those days aren’t really that bad after all 🙂